
On-the-Fly Evaluation
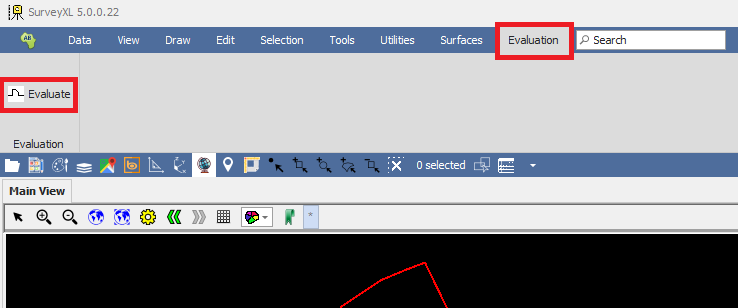
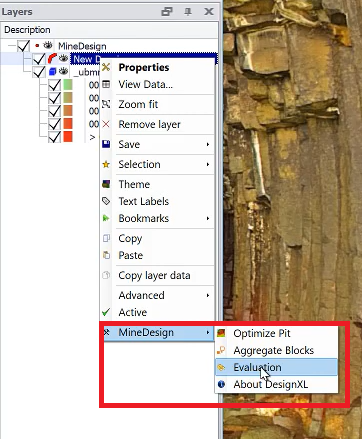
❖In our spatial products you are able to perform on-the-fly mining evaluations, if you have the evaluation add in specified in your license. This feature is accessed either in the Evaluation tab in the product or by right clicking on the layer you would like to evaluate and going to Mine Design > Evaluation:
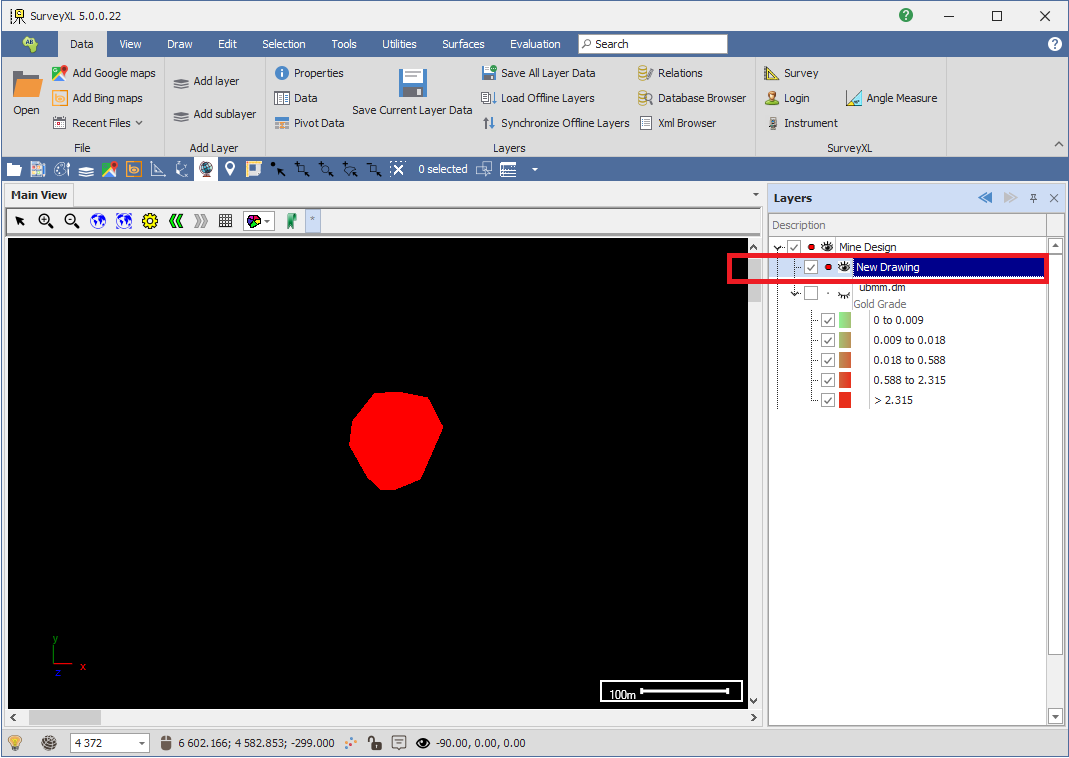
❖First, you will need a layer with geometries that are 3D solids or polygons that you want to evaluate, you can even evaluate linestrings, in this example I have just one polygon that I created that I’m going to evaluate:
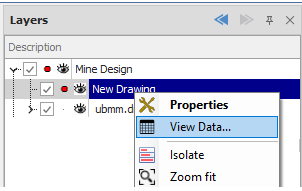
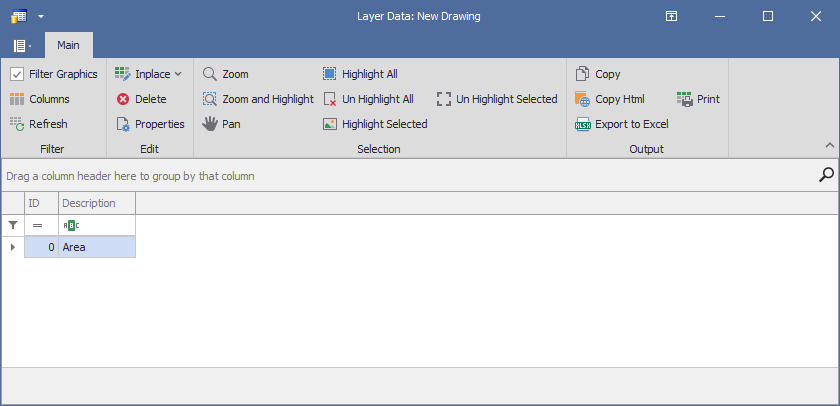
If I view its data, you will see it is just a simple layer with not much data in it, once the evaluation is done the values will be populated in this layer:
❖Secondly, you will need a block model to evaluate the area with:
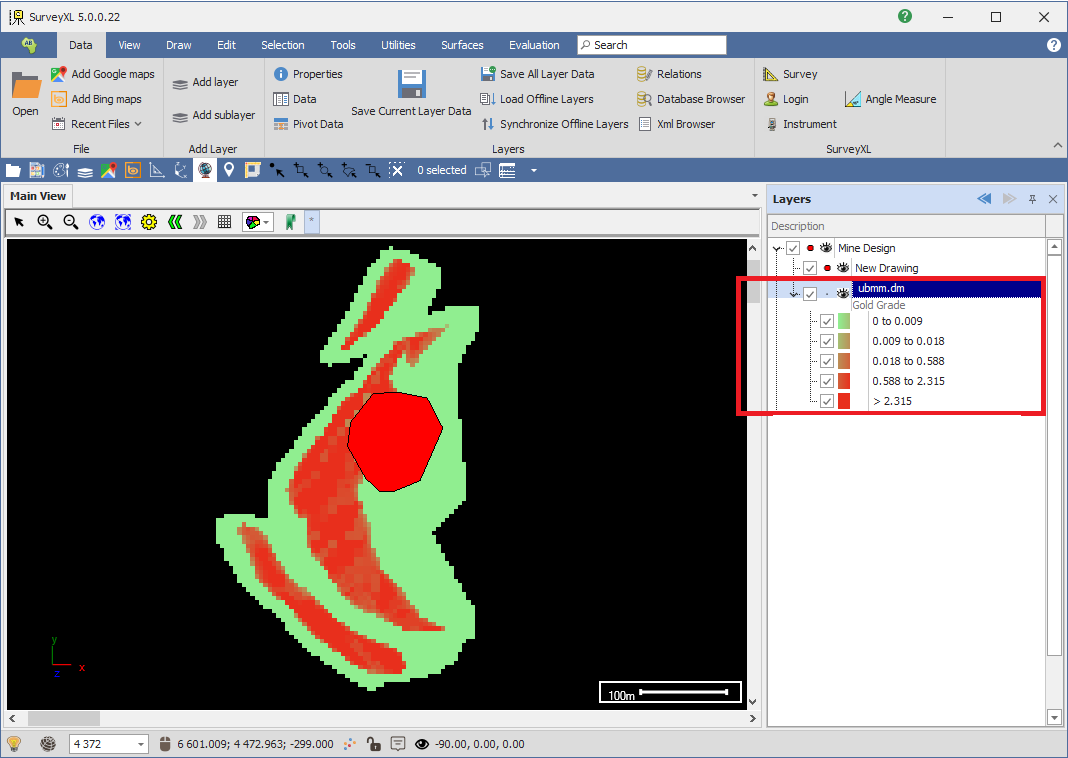
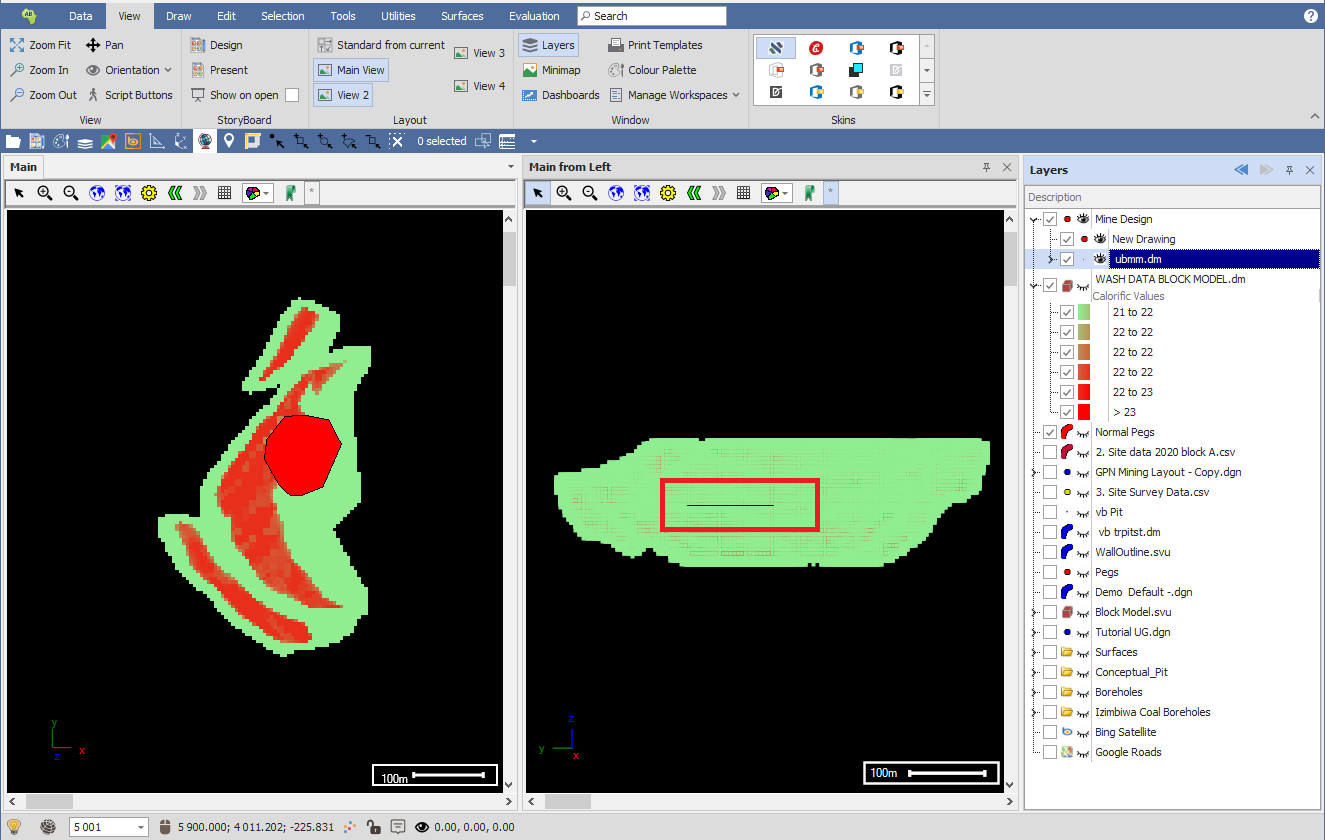
As you can see, I have also coloured this block model by its gold grade just so it’s easy to see where the higher values lie. You can also see that my polygon area intersects my block model, and if I look at another view on the side you can see it lies inside the actual block model:
(For data on how to create block models refer to the Grid Data(Block Modelling) guide.)
❖We are ready to do an evaluation. Make sure the layer that you will be evaluating is highlighted in the layer control and then right click on it and go to Mine Design > Evaluate to bring up the Evaluation dialogue, or if you have the Evaluation tab in the spatial ribbon, go there and click Evaluate :


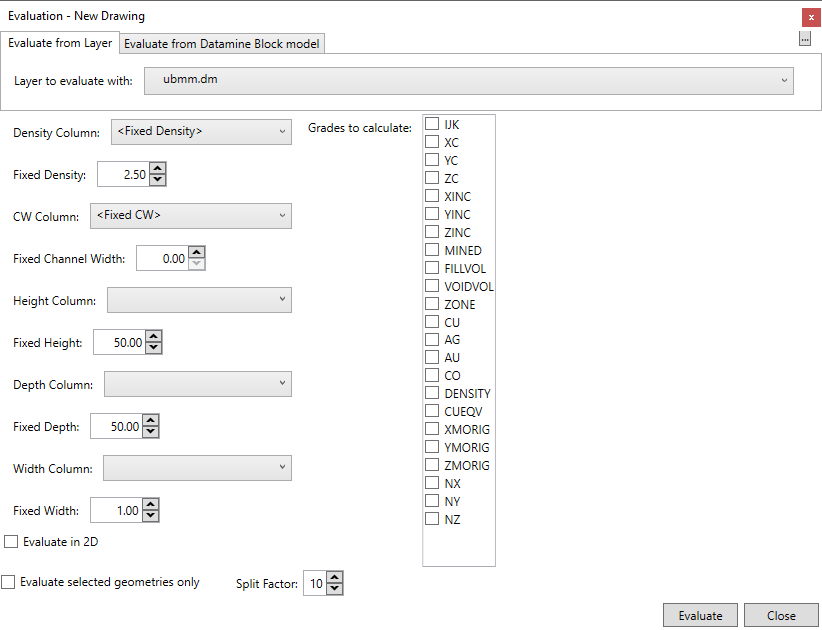
❖The layer you are doing the evaluation on is indicated in the top left corner of the window:

❖Choose the layer you will be evaluating with; this will be the layer containing the block model:

You can choose to evaluate from a layer, which is what we are doing in this case, or you can choose to evaluate straight from a Datamine Block Model file that you browse to without bringing it into the actual spatial area:


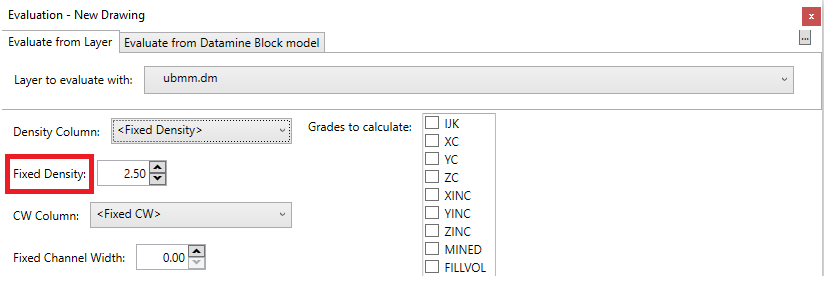
❖Next, we can choose a Density Column in our block model layer if there is one, otherwise just set this as Fixed Density and then you can specify the fixed density you would like to give it below:
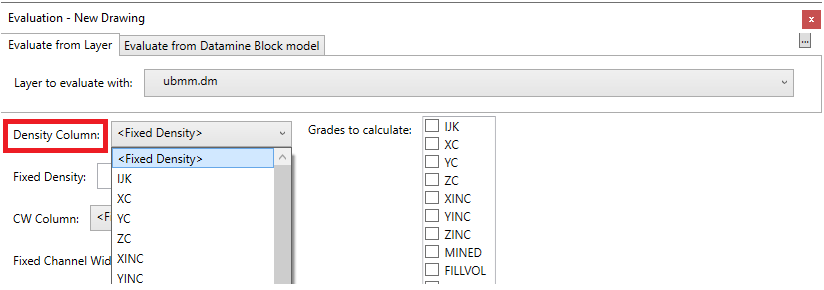
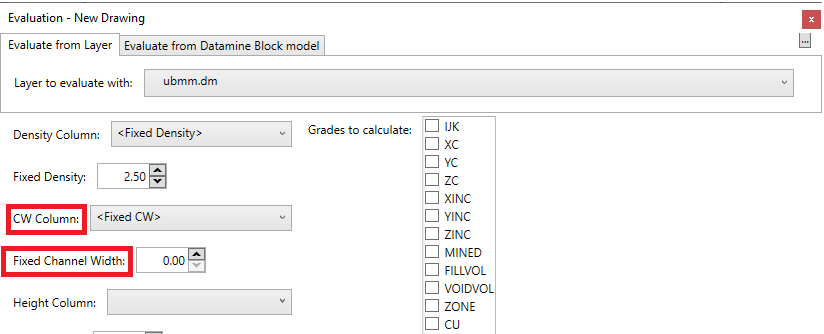
❖Next, if you are evaluating in 2D then you will need to choose a Channel Width Column in your block model data if there is one, it will need this to work out the true value since you are evaluating in 2D now, otherwise you can just choose Fixed CW and then specify the fixed value below:
❖Next, if you are evaluating 2D objects only, you can choose a height and depth (thickness)column for those objects if you want to evaluate them as 3D, and this will then extrude the objects upwards(Height) and downwards (Depth) by a certain amount when the evaluation is done. These columns will come from the layer you are evaluating, if you don’t have such columns in the layer then you can choose a fixed value and specify it below:
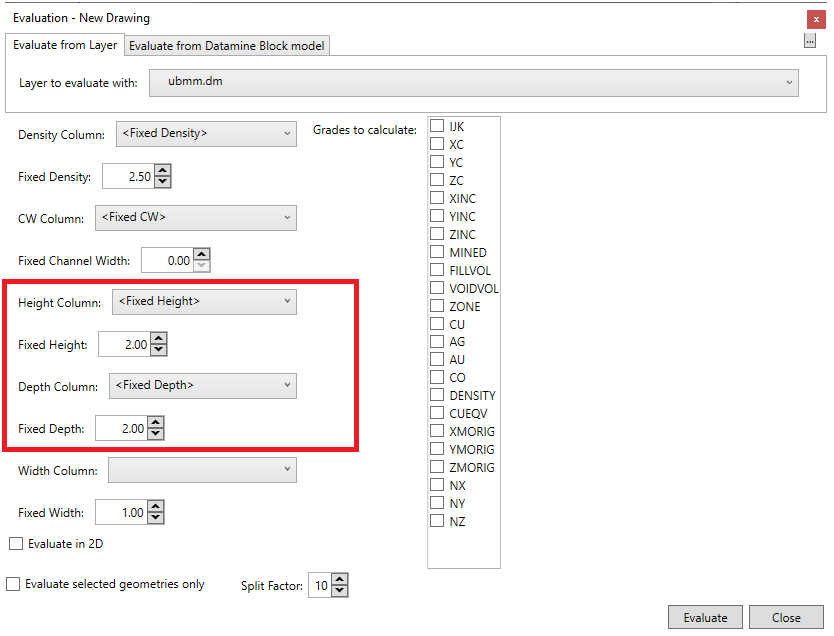
❖If you are evaluating linestrings, representing tunnels for example, you can choose a Width Column for them which will give them a thickness and extrude them sideways by a specified amount, along with the Height and Depth columns, and allow it to be evaluated as a 3D object, if you don’t have such a column in the layer you are evaluating, you can choose a fixed value and specify it below:
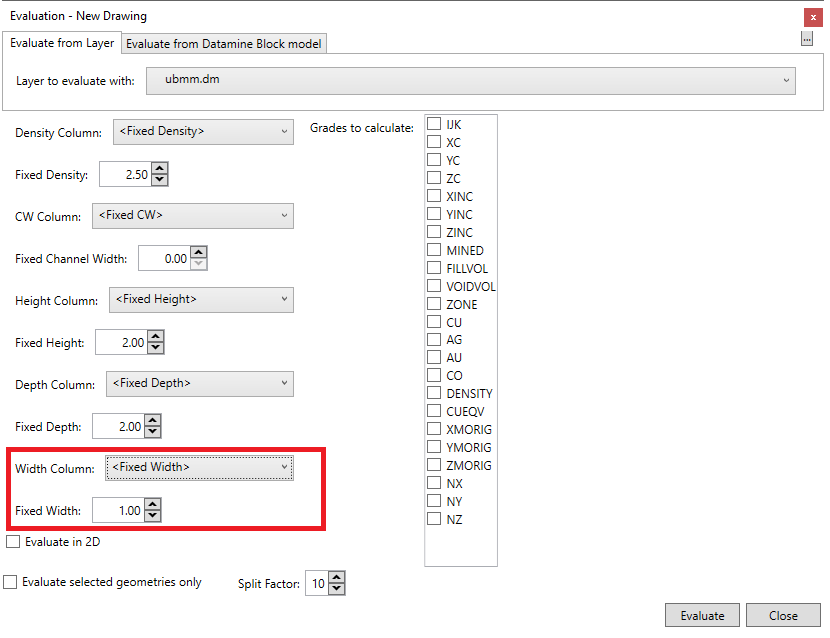
❖You can choose whether to evaluate in 3D, which will use the block model fully and won’t use the Channel Width field, or you can choose to evaluate in 2D which will take your block model as it is and accumulate the Zs and assume it is a flat block model and it will use that to evaluate your 2D objects, and it uses the Channel Width column in your Block Model to specify what the channel width is at that particular point. In this example I will be evaluating in 3D and so I will leave this ticked off:

❖Then, you can choose whether you want to evaluate selected geometries only, I will be evaluating everything in my layer, which is just one polygon, so I will leave this ticked off:
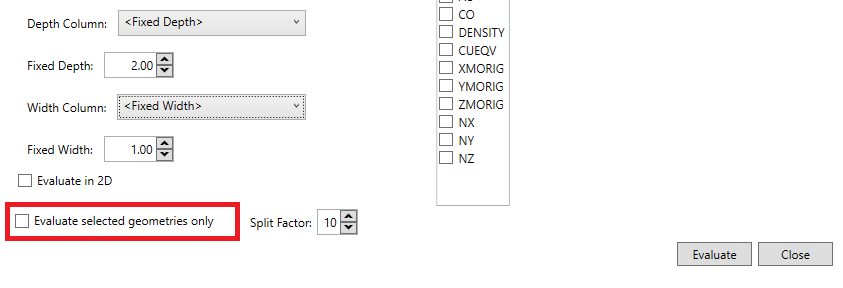
❖Split Factor can be specified which will provide a greater level of accuracy in your evaluation. What it will do is instead of intersecting the whole block it will break it up into smaller pieces and use those points for the evaluation. So if I specify a split factor of 10 it will break it up into 10 by 10 blocks for each block of the block model:

❖Lastly, we will choose the grade values from the block model that we want to calculate in the evaluation, here I chose the copper, gold, silver and cobalt values:
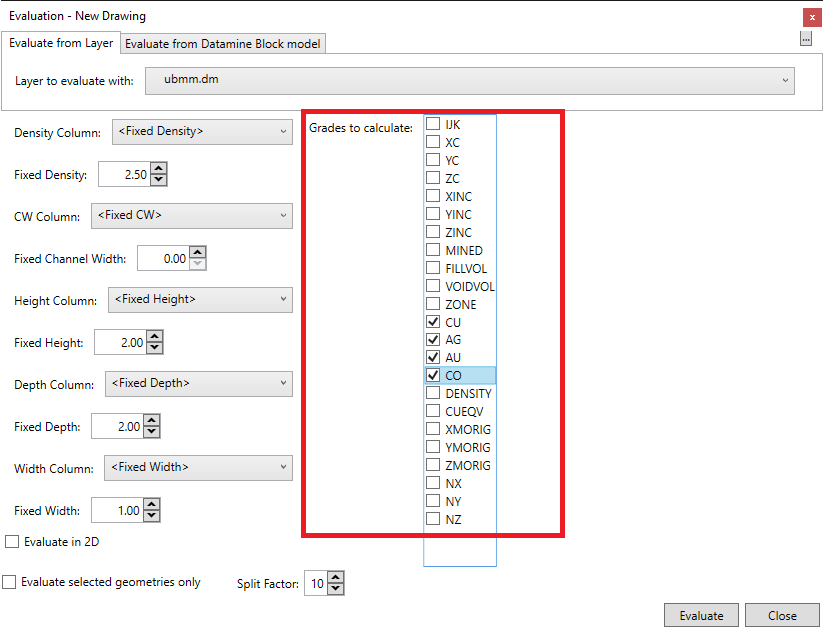
❖I can now click Evaluate and the evaluation will be done:


❖To see the results of our evaluation we right click to view the Data Grid of the layer we just evaluated, and we will see the grade values have been calculated as well as the density at that point. The Used Volume is the amount of the block model that properly intersected the evaluation layer:

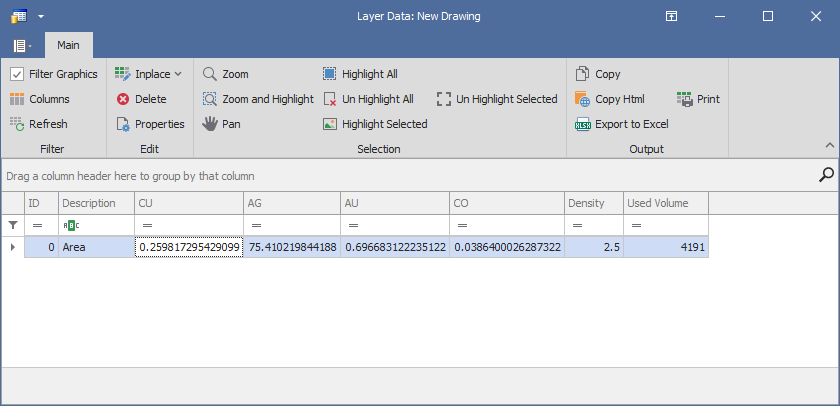
Just like that we have completed our on-the-fly evaluation. You can of course do the evaluation using any number of grade values as you want and on as many objects (solids, polygons, linestrings) in the evaluation layer as you want.