❖There are additional surveying capabilities you can choose from by going to the Survey tab in the Survey window.

❖Click on Traverse if you would like to do a Traverse calculation with Bowditch Correction automatically calculated.
❖Drag your window to make it bigger so you can see all the fields. Select your pegs for the Traverse. Alternatively, you can Load Selected data from the Instrument I/F.
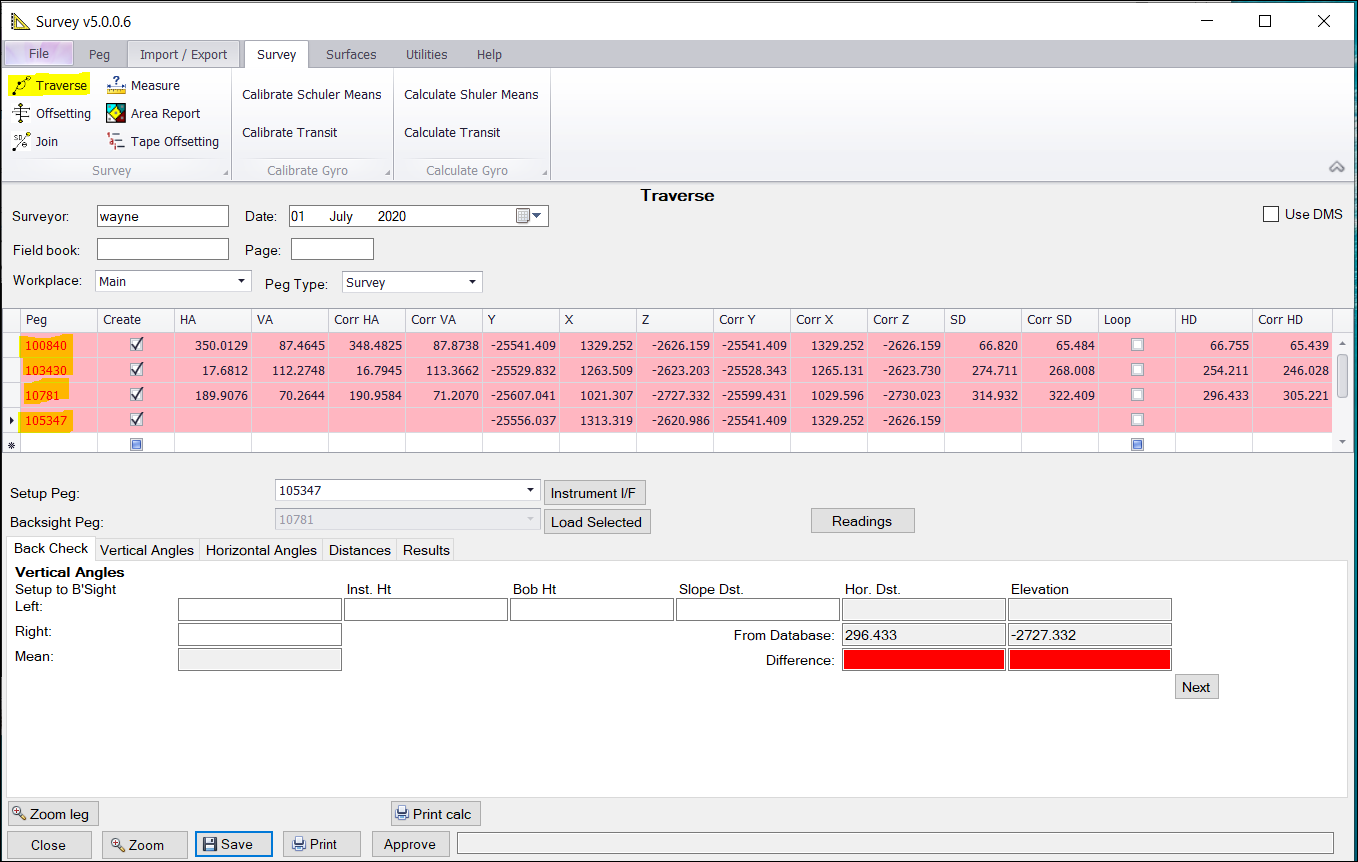
❖When you are done a new job will be created.
❖Offsetting can manually be done if you are using tapes. (Normally you would import this data from your total station)
❖Click on Offsetting. Choose the layer you would like to have your Offsetting drawn to – this automatically happens as you enter your numbers. Select your Start and End pegs/points or pick from your scene. Enter the Tape Position – this is in metres.
Vertical Offsets, Show Coordinates, and Enter Heights can be ticked on and used, as necessary.
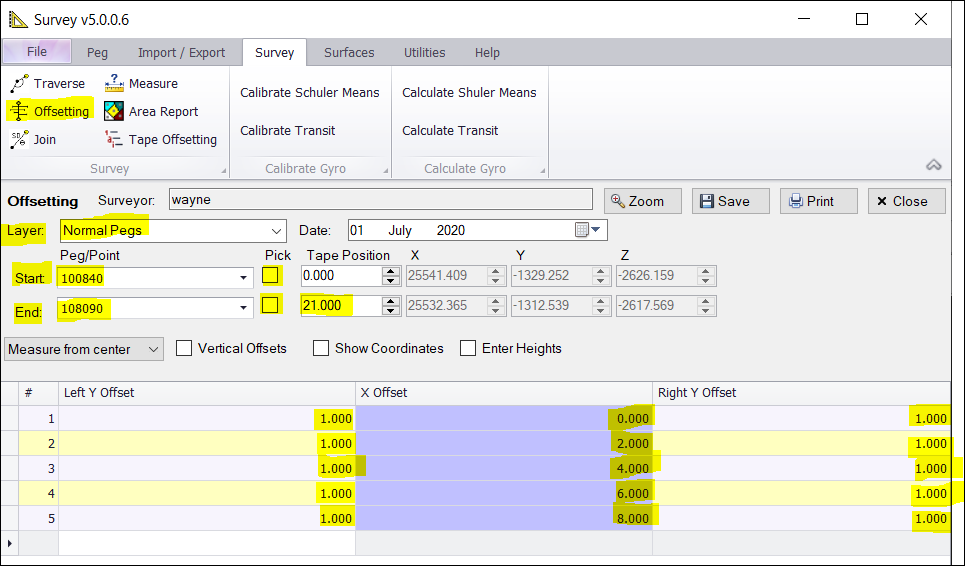
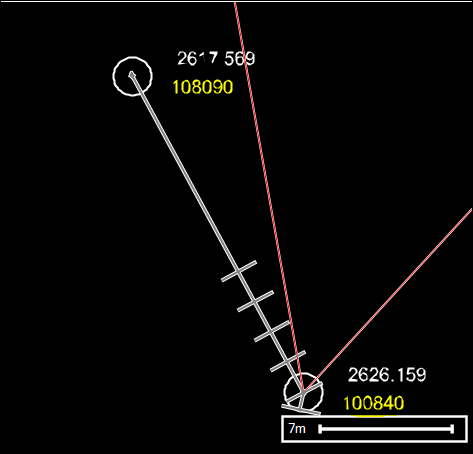
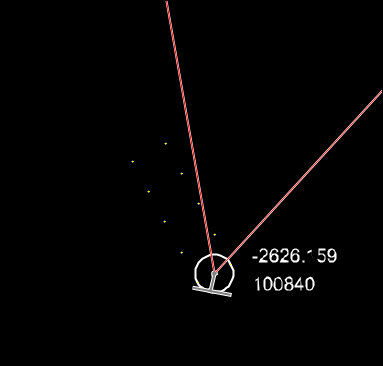
❖Click Save. The points will be displayed on the scene.
❖There is an option to Join pegs/points where you can get a template of Join data results. Click on Join.
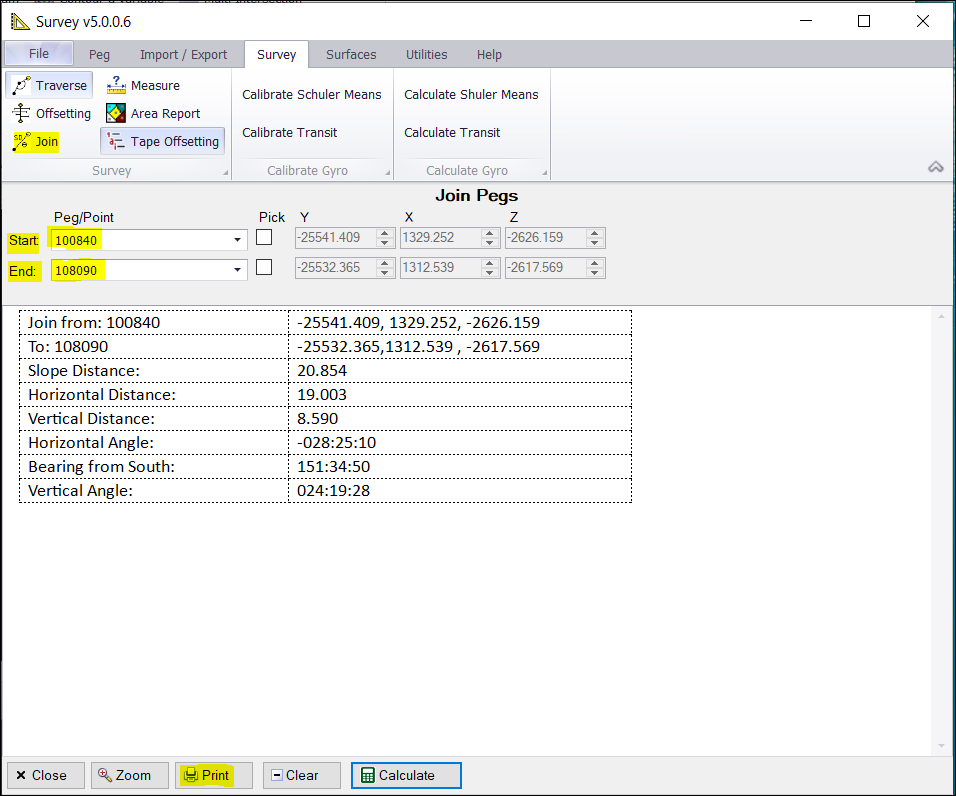
❖Select your Start and End pegs/points or pick them from your graphics by ticking on Pick then clicking on your scene. Then click Calculate.
❖A default template will be produced, but it is also configurable in File > Settings.
❖If you would like to print it, then click Print.
❖Click on Measure to do bulk measurements on selected elements in your graphics area. This could be used for further calculations or reports.

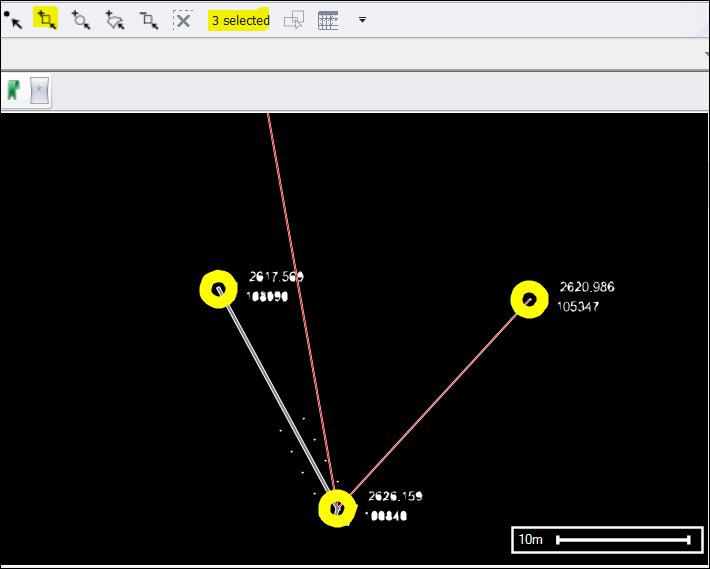
❖I selected 3 elements which are pegs in this example using one of the selection tools above.
❖Click on Add Selected.
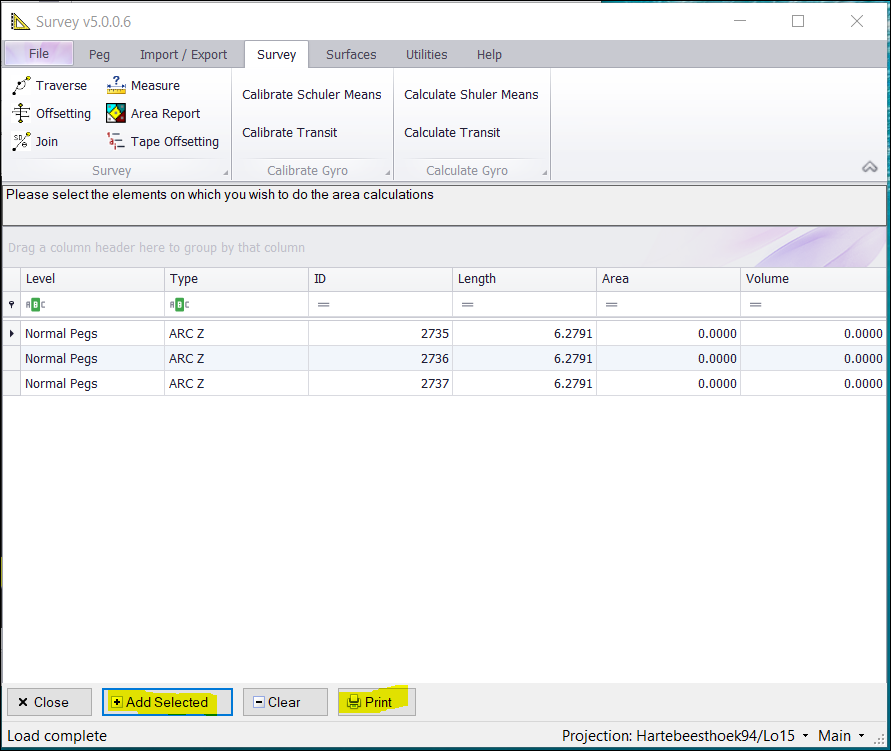
❖Your selected elements with measurements are displayed above. Click on Print to print a report.
❖Calibrating and calculating Schuler Means and Transit can also be done.
